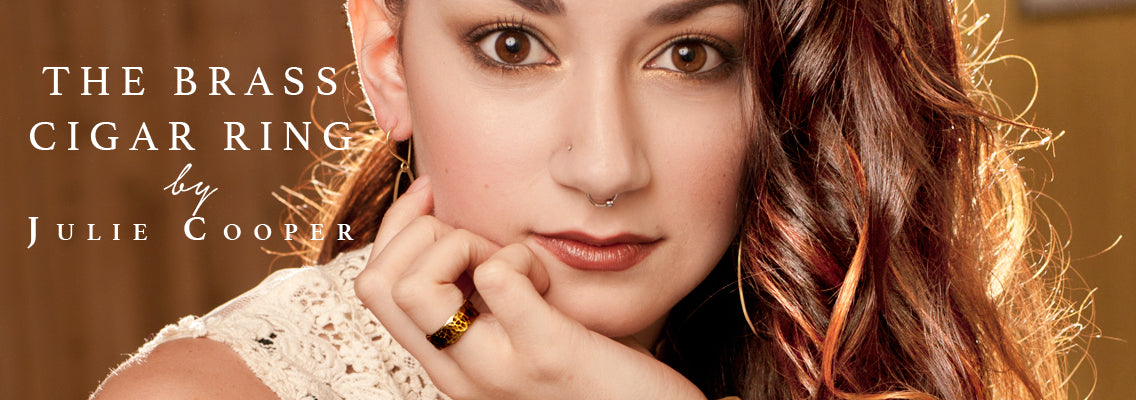
Hand forging a brass cigar ring - a behind the scenes look with Julie Cooper August 14, 2015 18:03
She makes it look so easy
Metalsmith Julie Cooper makes it look easy, but those of us who have tried real jewelry making know that it is an art, and one that takes dedication. Watching Julie create her popular Brass Cigar Ring before my eyes was exciting enough, but the fact that she kept her 9-year-old busy, greeted customers with a smile and continued forging the ring all at the same time was fascinating.
As she worked, she was continually interrupted by customers and passers-by who just pop in to say hi and see what she's working on. And still, she continued to heat, solder, hand-form and hammer that little sucker into a beautiful work of art in less than two hours. "Expert" might not be the right word to describe her.... there might some magic at work in that little studio on SE Clinton Street.
So if you're feeling brave...
Here's your shot. Within this blog post you'll find a step-by-step guide to make one of Julie Cooper's most popular metal jewelry designs, the Brass Cigar Ring.


Supply List for making a Brass Cigar Ring
As with any creative project, Julie starts the process by organizing her tools and supplies. For her handmade Brass Cigar Band Ring, here is her supply list:
- Steel Block
- Flux
- Gold Solder
- Brush
- File
- Wire cutter & pliers
- Ring Mandrel
- Sharpie (wait til you see what she does with this!)
- Hammer
- Steel Wool
- Fire Brick
- Raw brass strip
- Lighter
- Fire brick
- Metal stamps
- Ruler
- Propane torch

Start Making!
 The process of forging a Brass Cigar Ring starts with a simple raw brass strip which Julie will heat until it reaches a temperature that allows her to bend and form the metal by hand. She recognizes that the brass strip is hot enough when it reaches a glowing red color. This process takes a few minutes with a propane torch. Watch as Julie heats the raw brass strip to a glowing red color:
Cool the heated brass in water
After the metal is heated to her desired temperature, Julie submerges it in water. This cools the metal to a point where she's able to handle it with her bare hands.

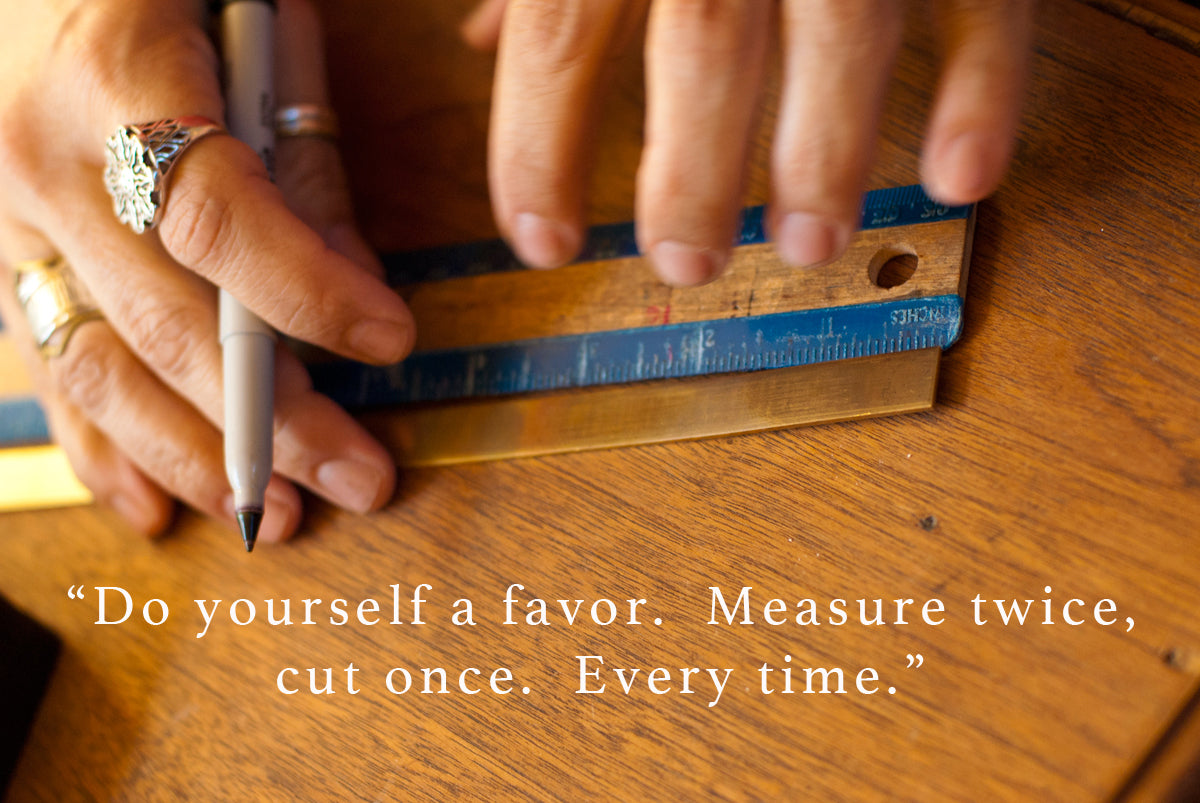
Measure Twice, Cut Once.
It's an old rule, but a good one. Take a few extra beats to take your measurements twice and save yourself a lot of grief!
In this photo, Julie measures her heated brass strip (twice) to create a "size 8" finished ring.
"Some jewelry artisans will use a saw for this part. I prefer keeping the metal in my hands as much as possible. I also don't buy tools and supplies that I really don't need. Keeping it simple seems to work best for me."
After the cut, you'll be left with a lightly jagged and short piece of brass, which will eventually be filed to create a nice flush area when the ends are joined together. Julie uses wire cutters to cut the brass down to size for her hand forged ring.

Before hand shaping the strip into a loop, Julie takes a moment to handstamp her signature "J" on the inside of the strip.

Next, file the ends to create a flush seam

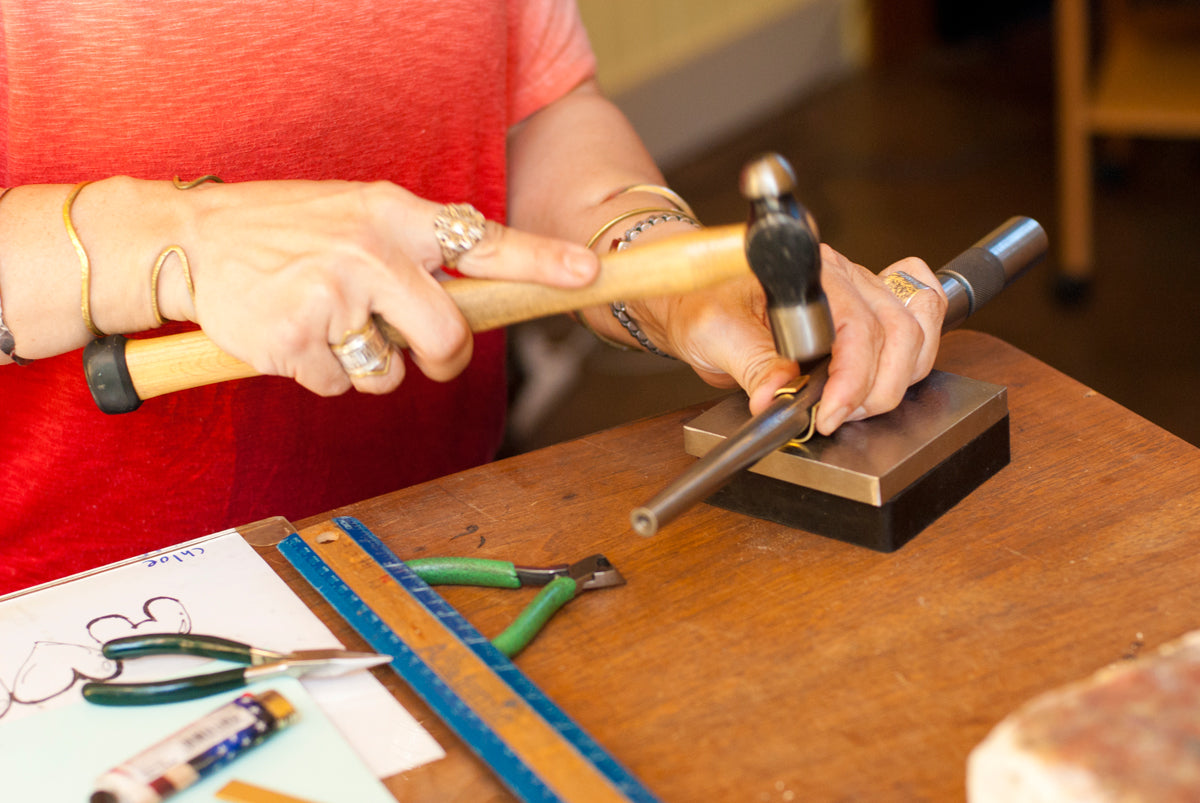
Hammer & shape your strip into a loop
The next step is to bend and shape the brass strip into a loop and start the makings of a ring. Julie forms the loop with her hands and pliers, and finally around a mandrill.
Time to solder
It's time to take those nice flush edges and solder them together. For this process, Julie points out that her brush is "nothing but a 'nub' but still works great."
She cuts tiny slivers of gold off of her 'gold solder' and lets them drop to the table. Then with her brush, she dips into the Flux and then picks up a piece or two of the gold solder. Gently and with precision, she places them exactly where she knows they'll melt beautifully into the seam.

Once the solder is in place exactly where she wants it, she begins heating it up with her propane torch. The gold solder bubbles and melts beautifully into the seam of the ring.

Pull the solder through the seam with your torch
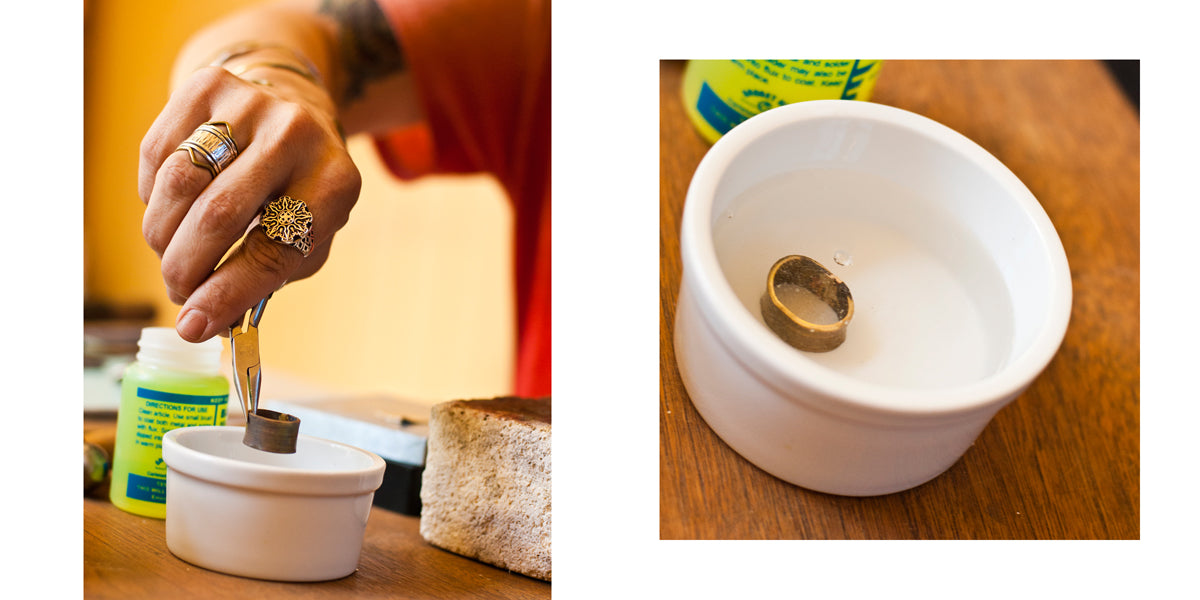
Julie grabs her pliers and expertly flips the ring onto its side, using her torch to guide the solder to fill every microscopic air pocket in that seam. She knows the sign of an expert metalsmith is not being able to tell where the seam once was.

Again, FIZZ! Into the water for cooling.
Time to texturize and make it an original
Julie starts adding personality to the ring by using a dremel to smooth some areas and create texture in others. The process of making the look of this ring one-of-a-kind has begun.

For this particular cigar ring, Julie is going to create a hammered texture. She puts the ring back on the mandrel adds texture as she rotates the ring.
And if you were wondering what she does with the Sharpie...
Buff & shine it up to your liking
Using steel wool, Julie removes some of the "paint" and leaves a beautiful textured look in it's place.
Now, the final test.
"For a ring with this much texture, you can definitely 'cheat' and not put much emphasis on hiding the seam. Typically the texture will cover it up anyway. But the perfectionist in me doesn't allow it. If I can see the seam in a piece, even if no one else can, that piece typically won't end up for sale."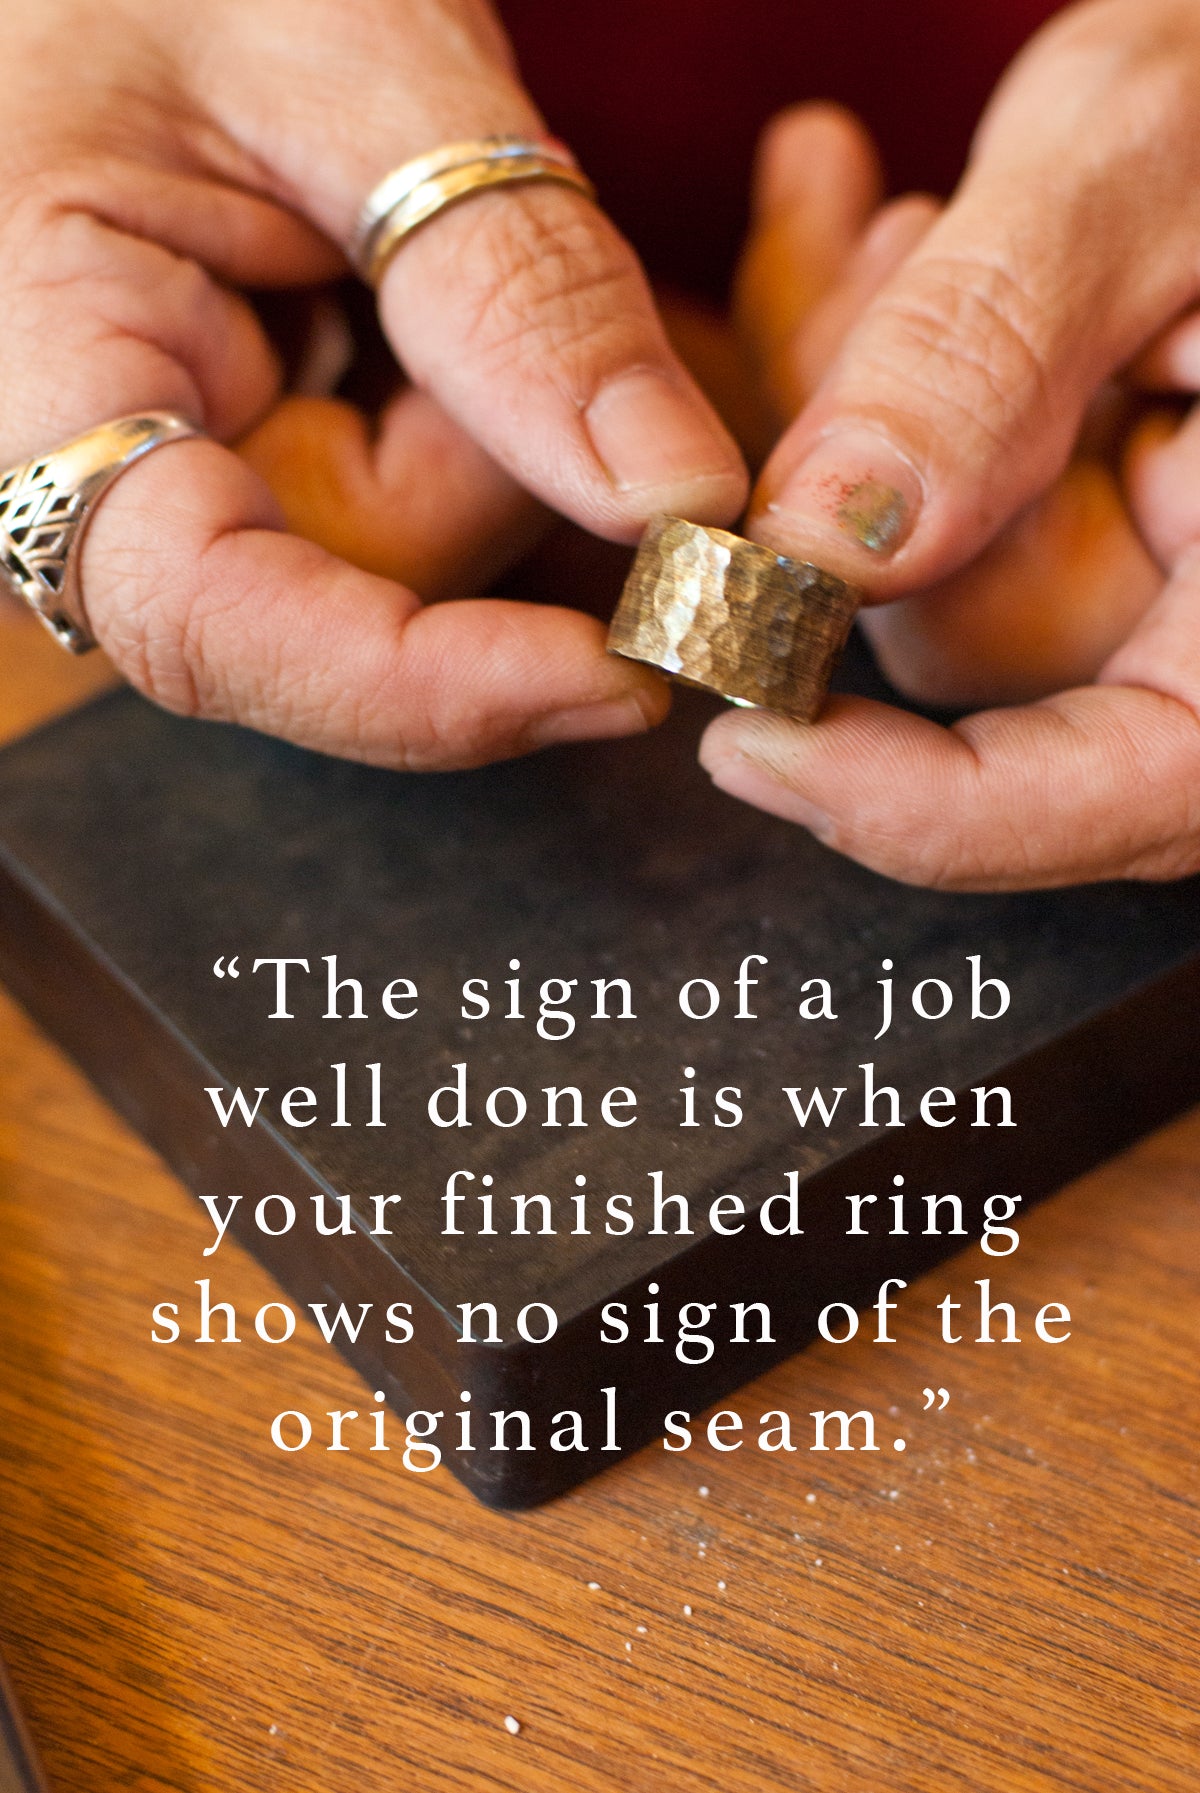
Take a spin around this Brass Cigar Ring that Julie just made. Can you see the seam?


The Finished Product.